Gaussian Splatting
Gaussian Splatting
I’ve been playing around with some Gaussian Splats! Before I go into the what and how, have a look at the gallery so far
Gallery
Click on the images to enter an interactive viewer
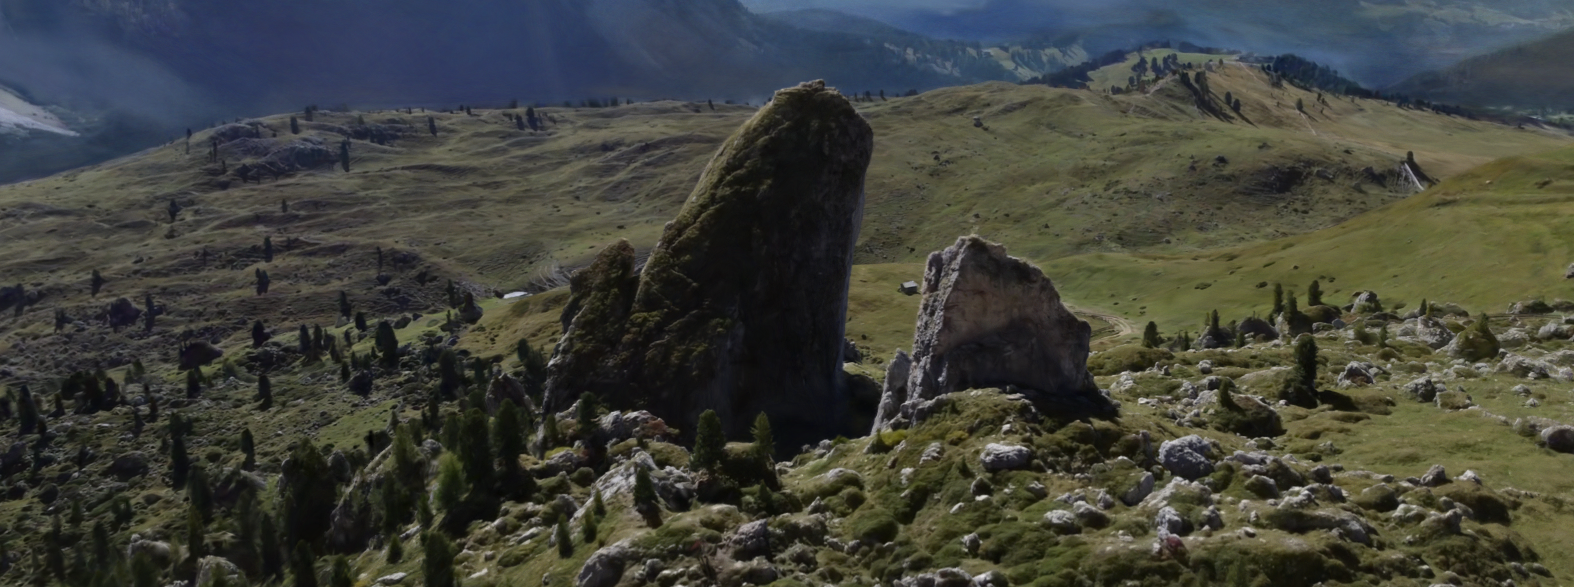
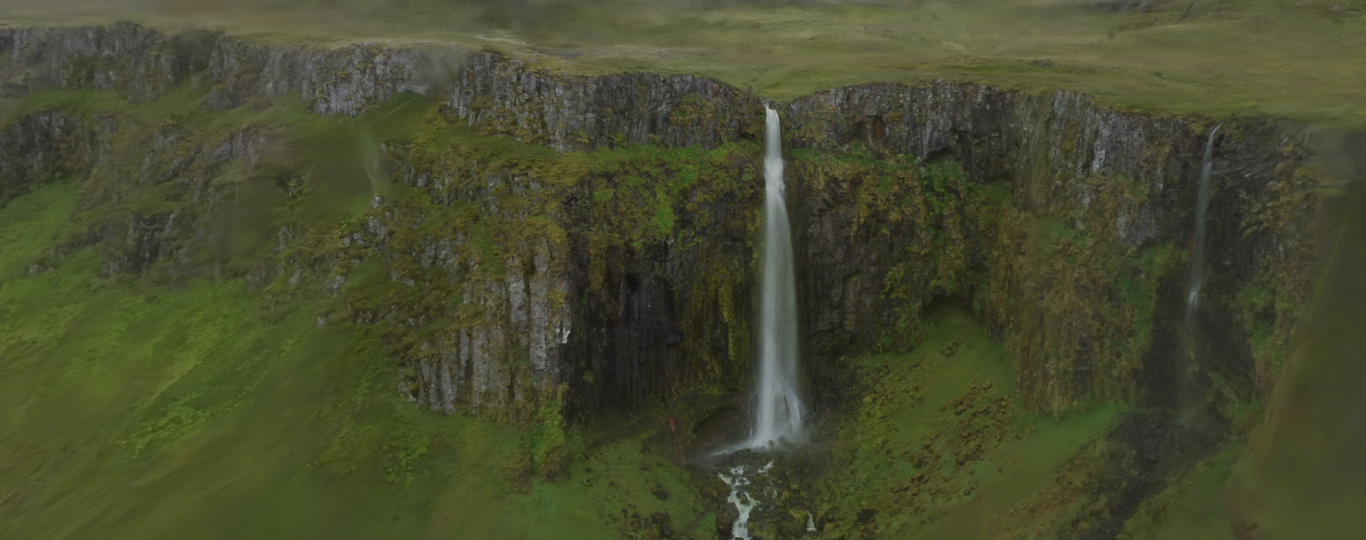
Pieralongia Rock Towers in the Dolomites, Northern Italy
Drone footage by Antonio Iaccarino
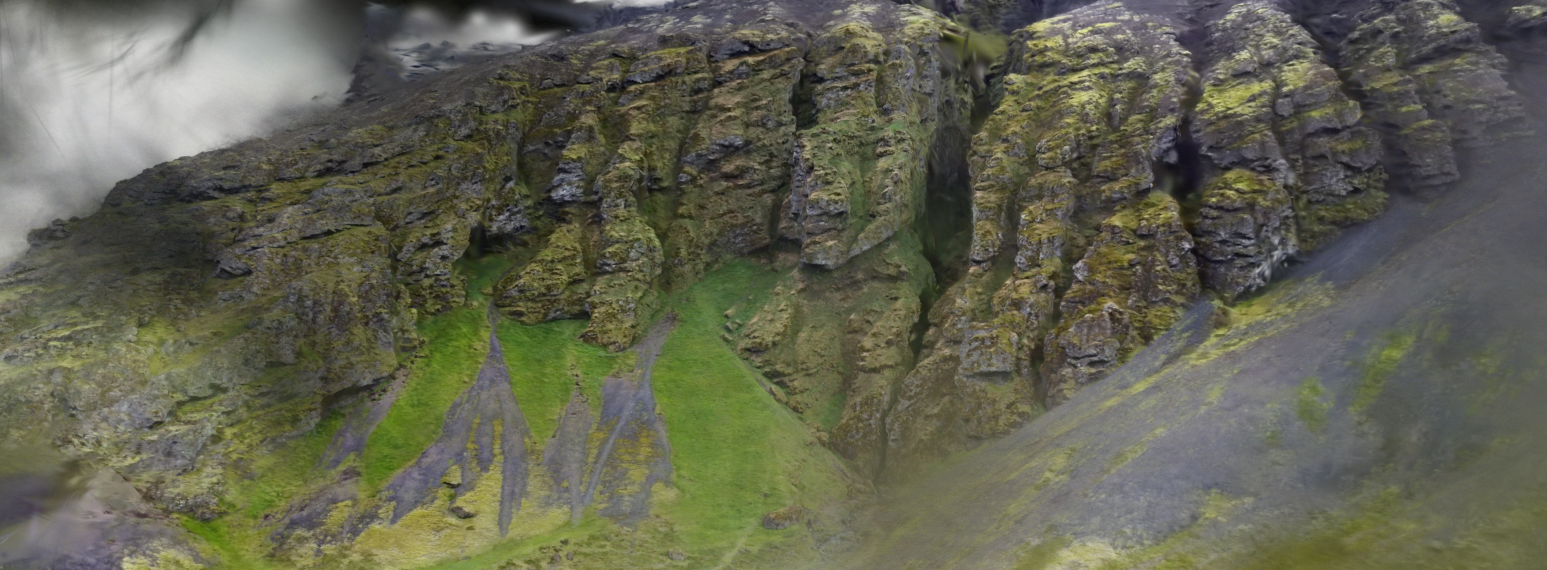
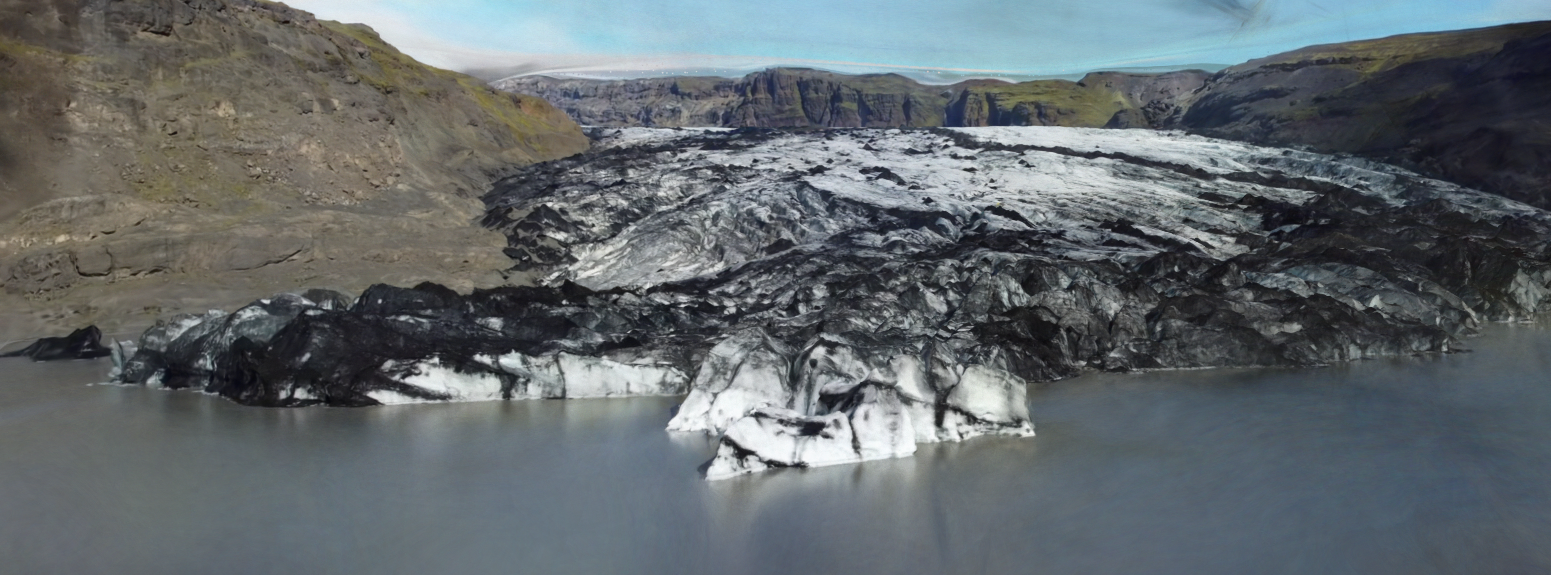
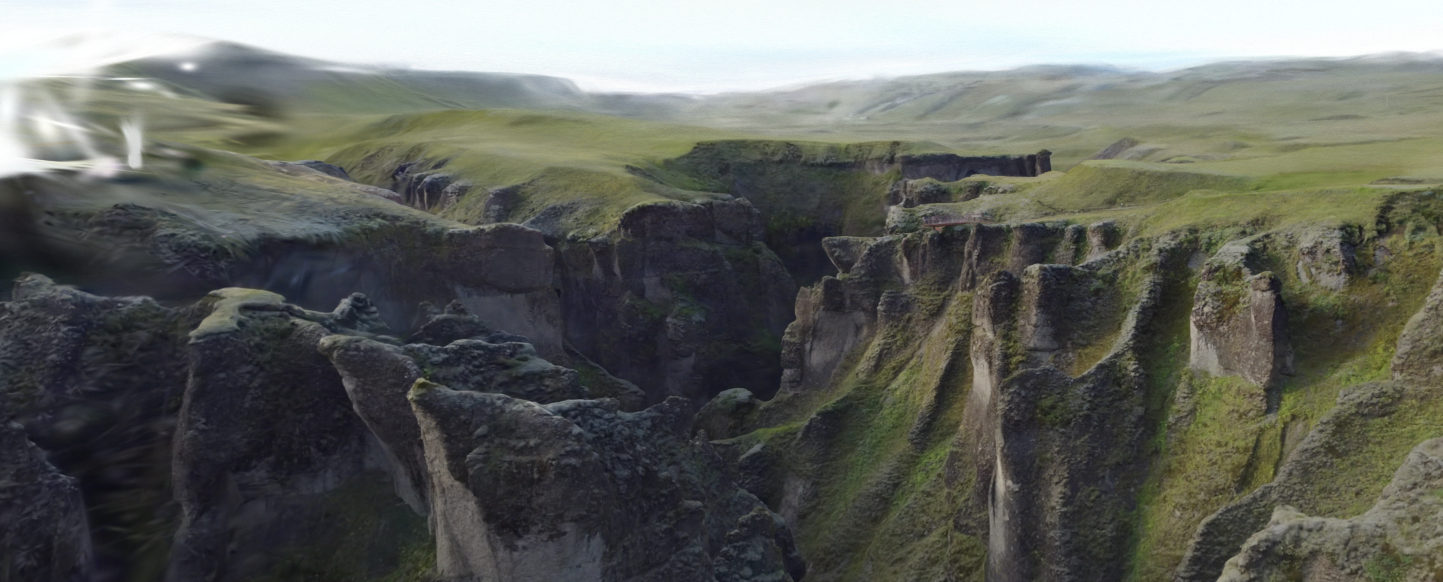
More splats from Antonio’s drone footage:

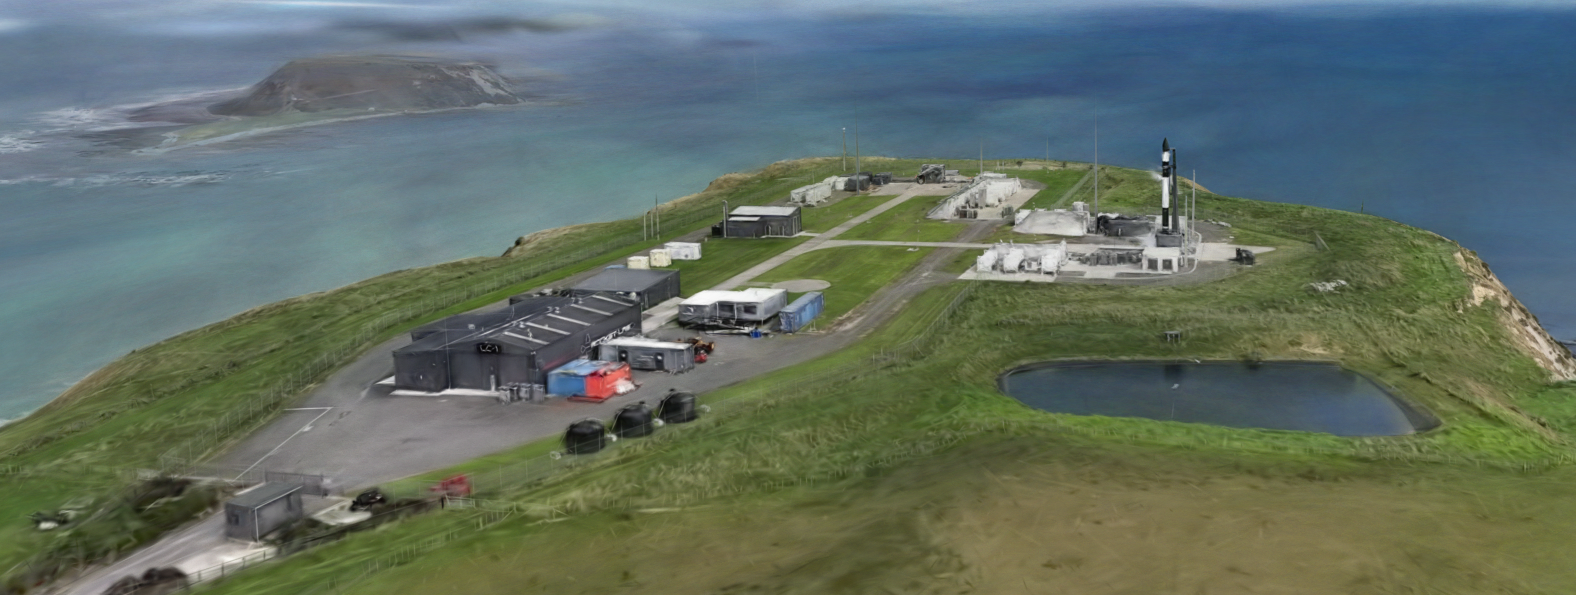
Rocket Lab’s Electron Rocket (F36) at LC-1 in Mahia
Drone footage by James Rattray
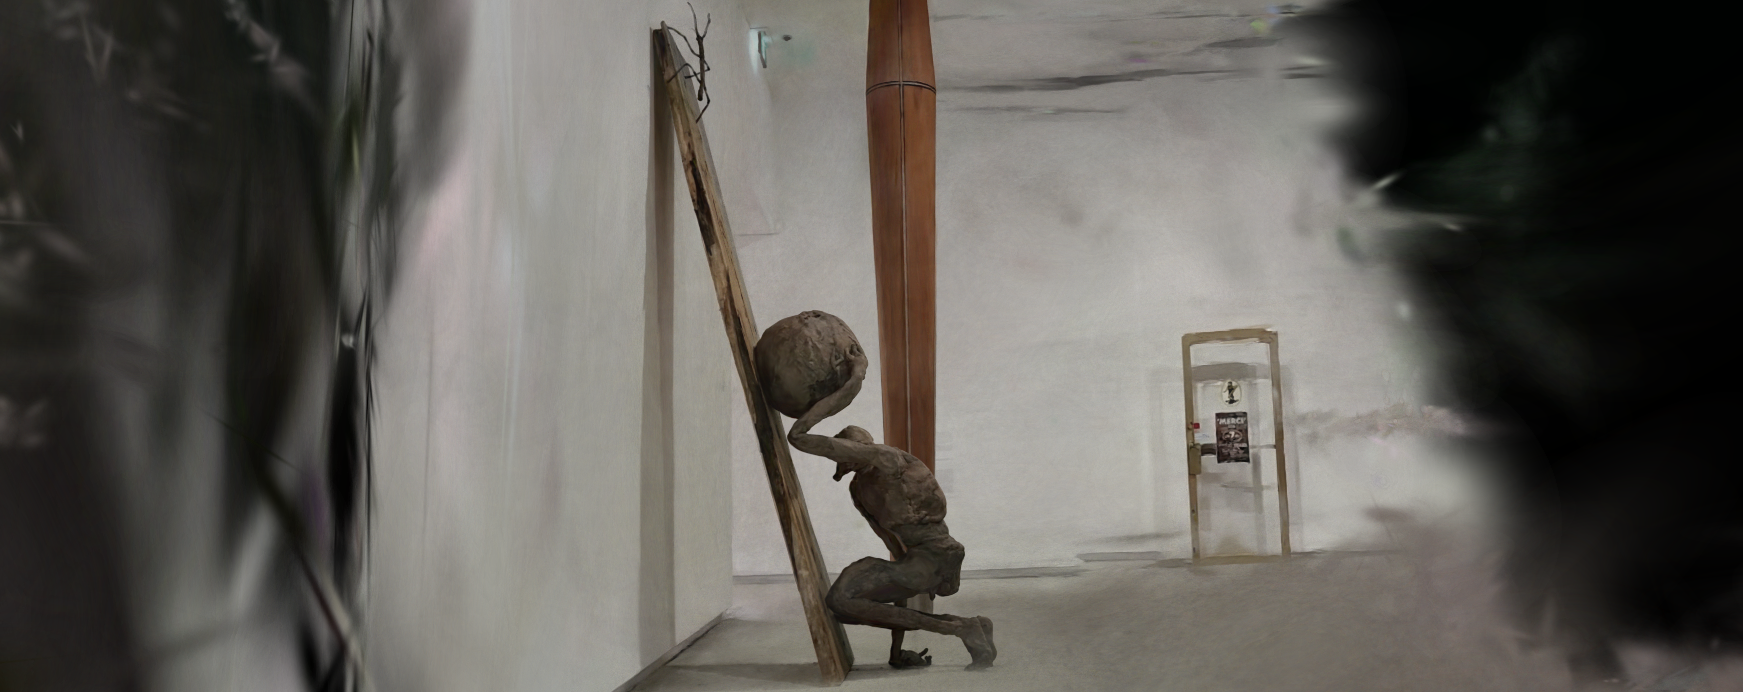
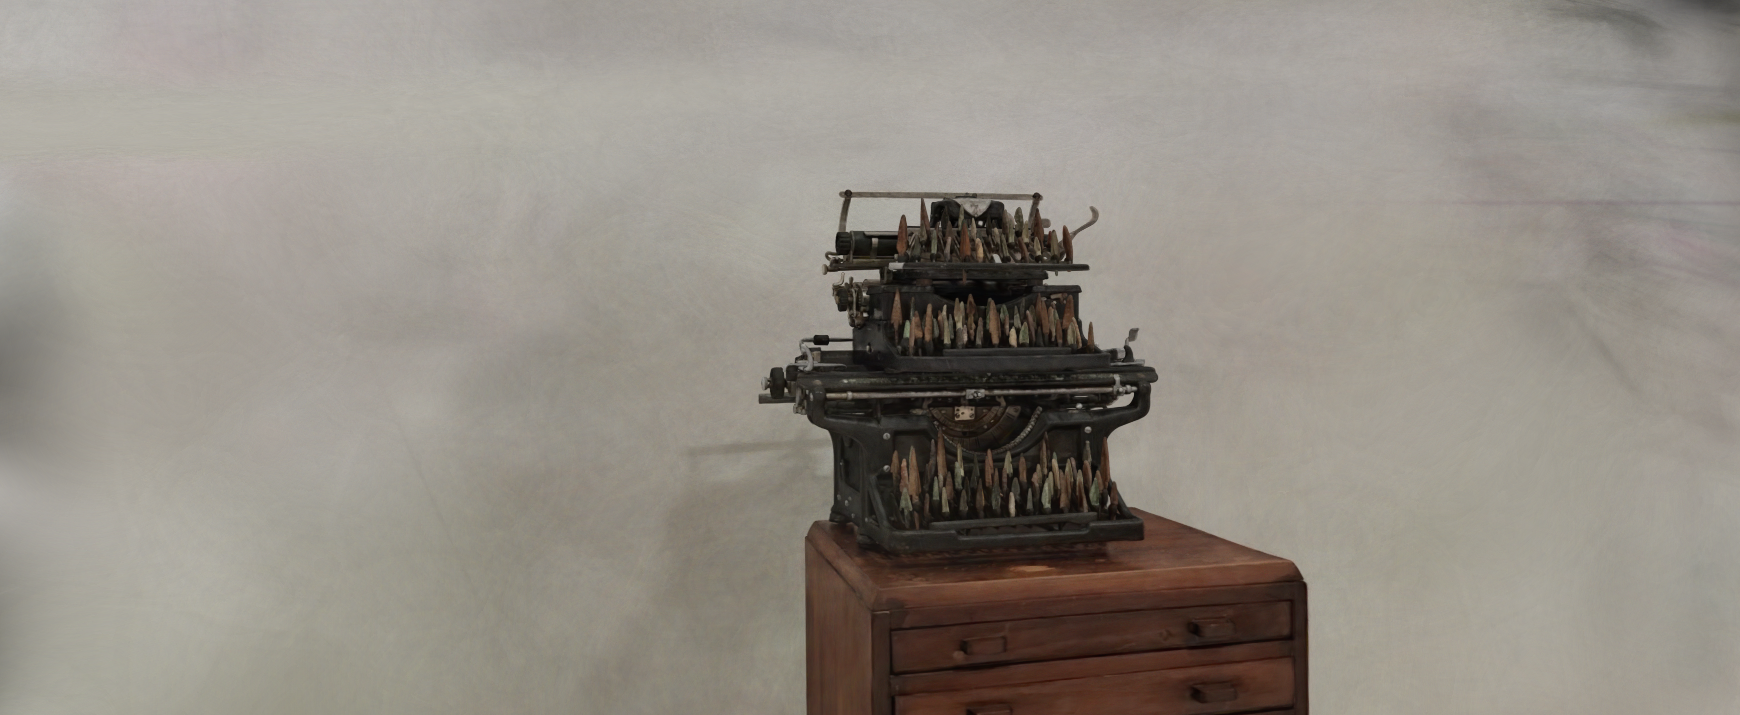
Sisyphus
Sculpture by Francis Upritchard, Chrischurch Art Gallery Description (couldn’t find one from Auckland Art Gallery, where I saw it). Splat recorded at Auckland Art Gallery.
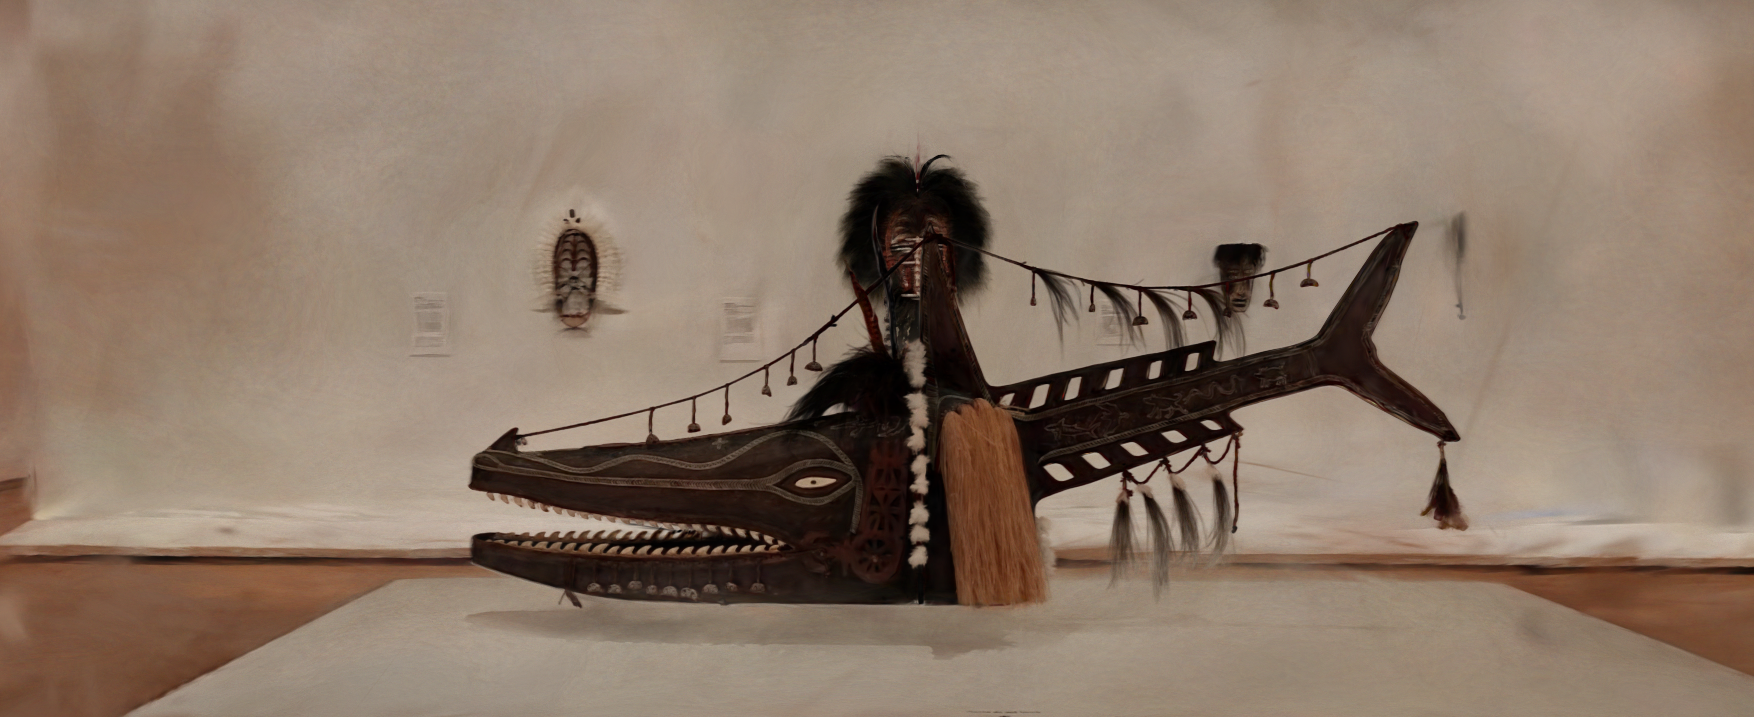
Koedal Baydham Adhaz Parw (Crocodile Shark) Mask
Sculpture by Alick Tipoti, National Gallery of Australia Description. Splat recorded at Auckland Art Gallery.
A Quiver of Names
Sculpture by Zac Langdon-Pole, Auckland Art Gallery Description. Splat recorded at Auckland Art Gallery.
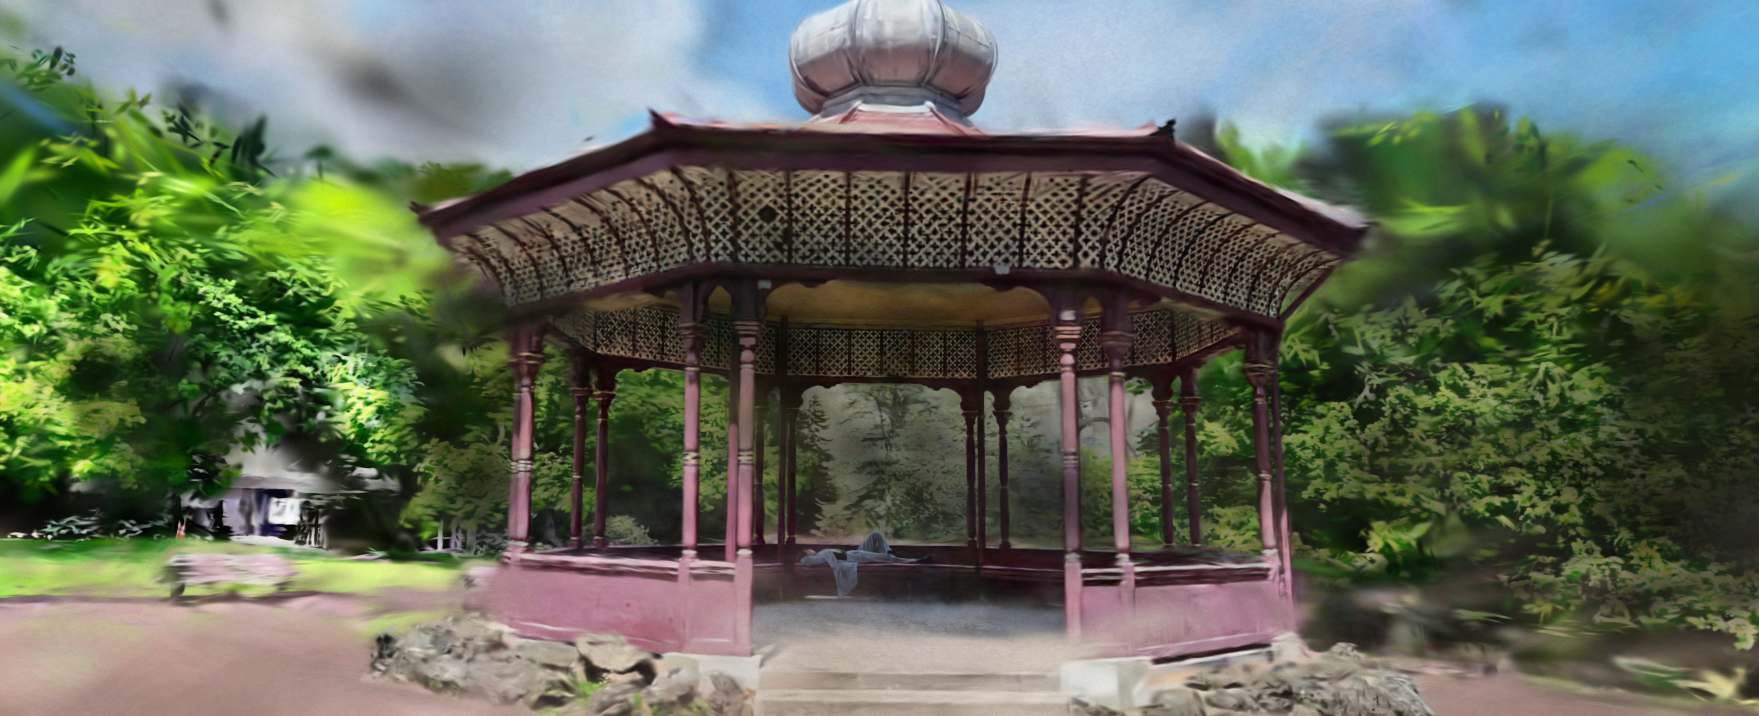
Albert Park Pavilion, ft. Liv
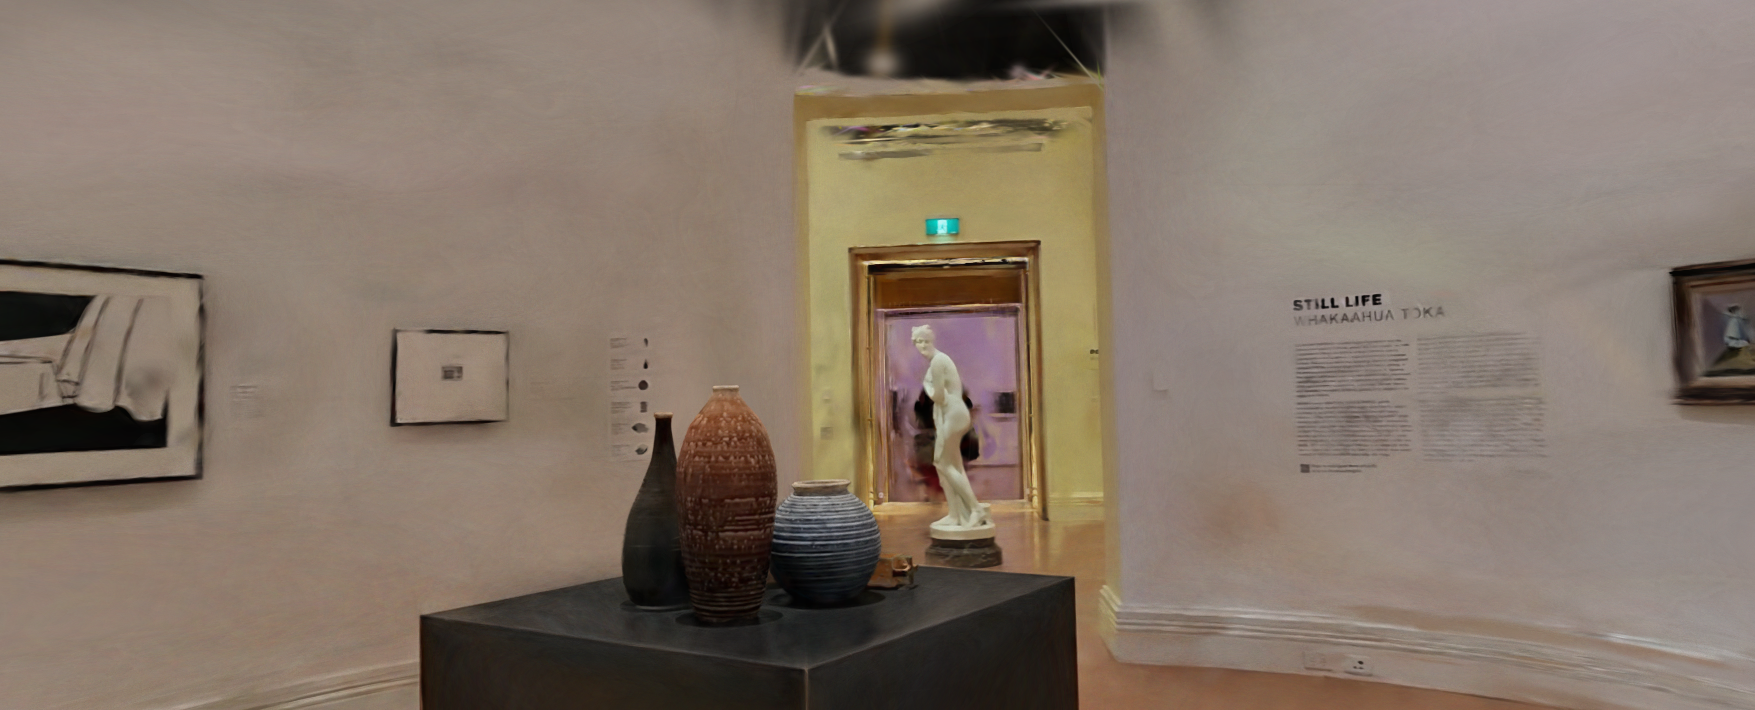
Still Life at Auckland Art Gallery
Works by Len Castle, Pat Perrin, Tom Kreisler, and Isobel Thom. For more detailed attribution see this. Splat recorded at Auckland Art Gallery.
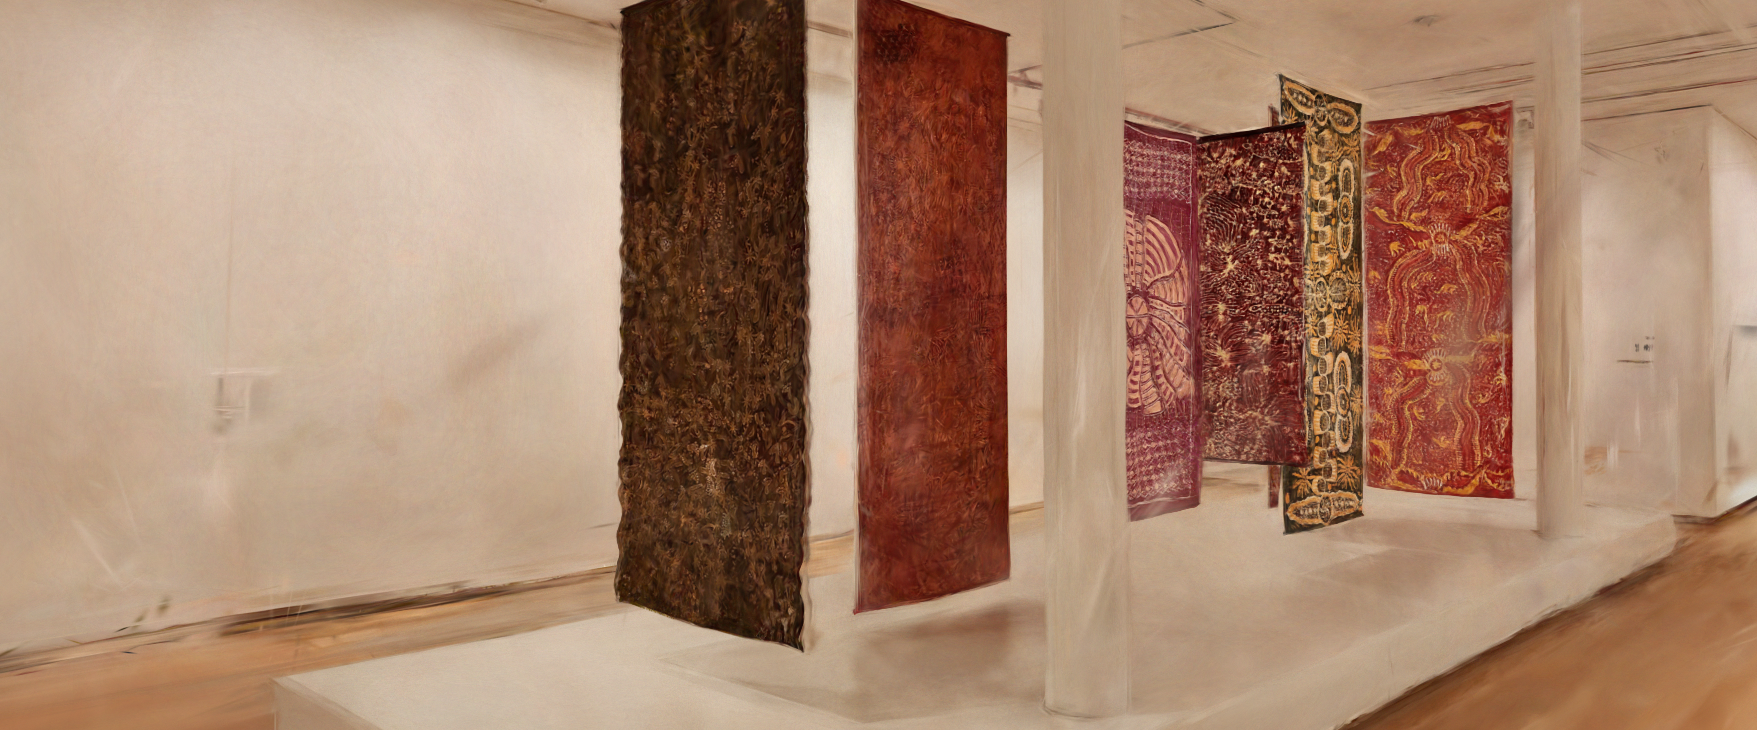
Batik Cloth, Ever Present: First Peoples Art of Australia
Unfortunately I couldn’t find detailed attribution online, but you can read more here.
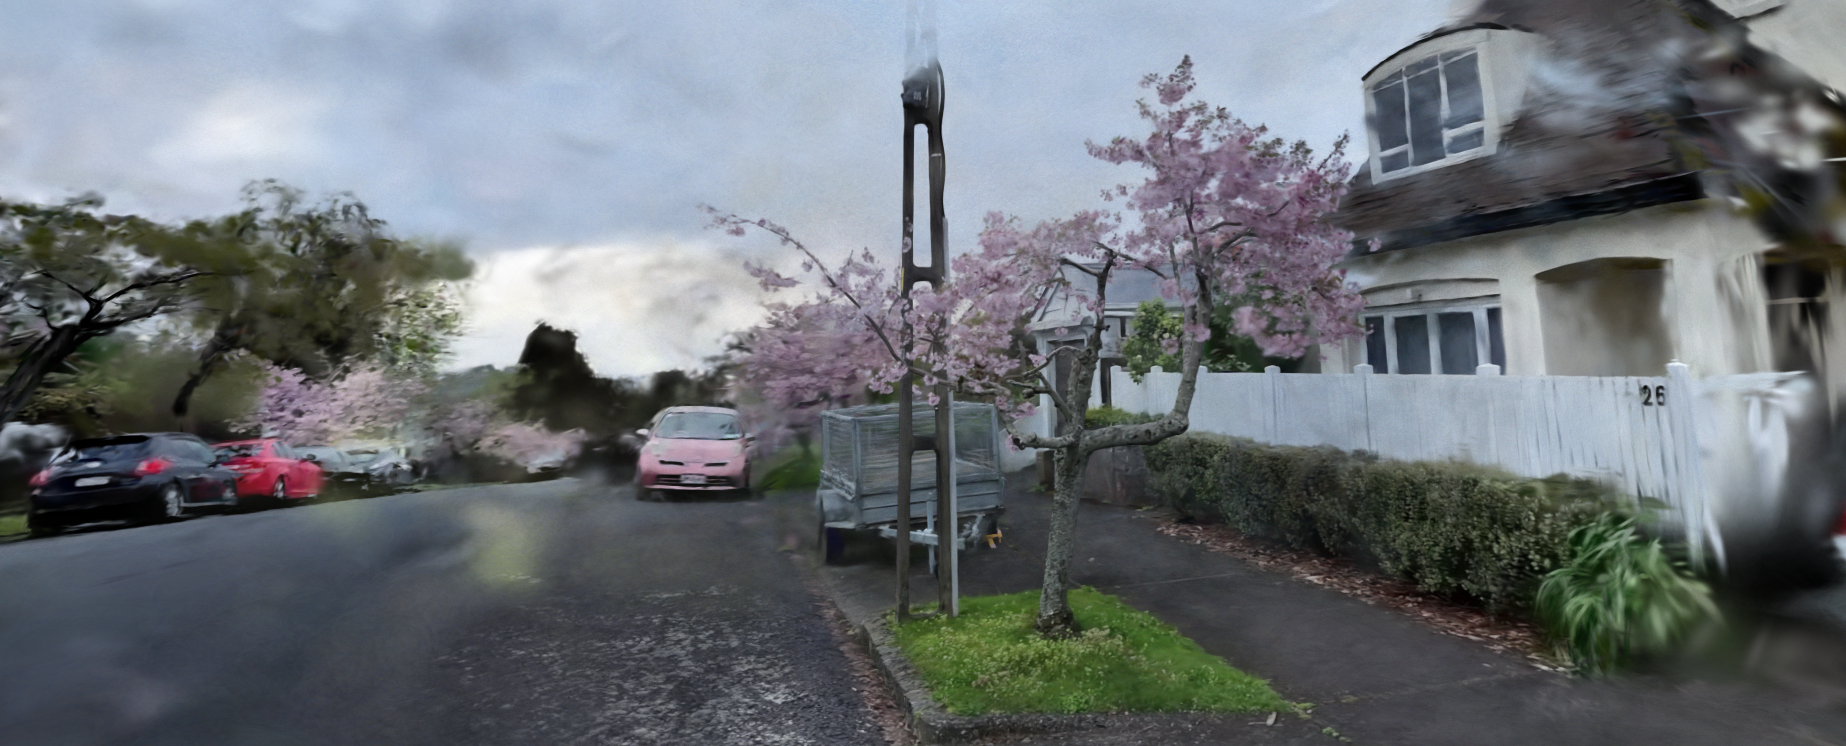
A cherry blossom outside our house
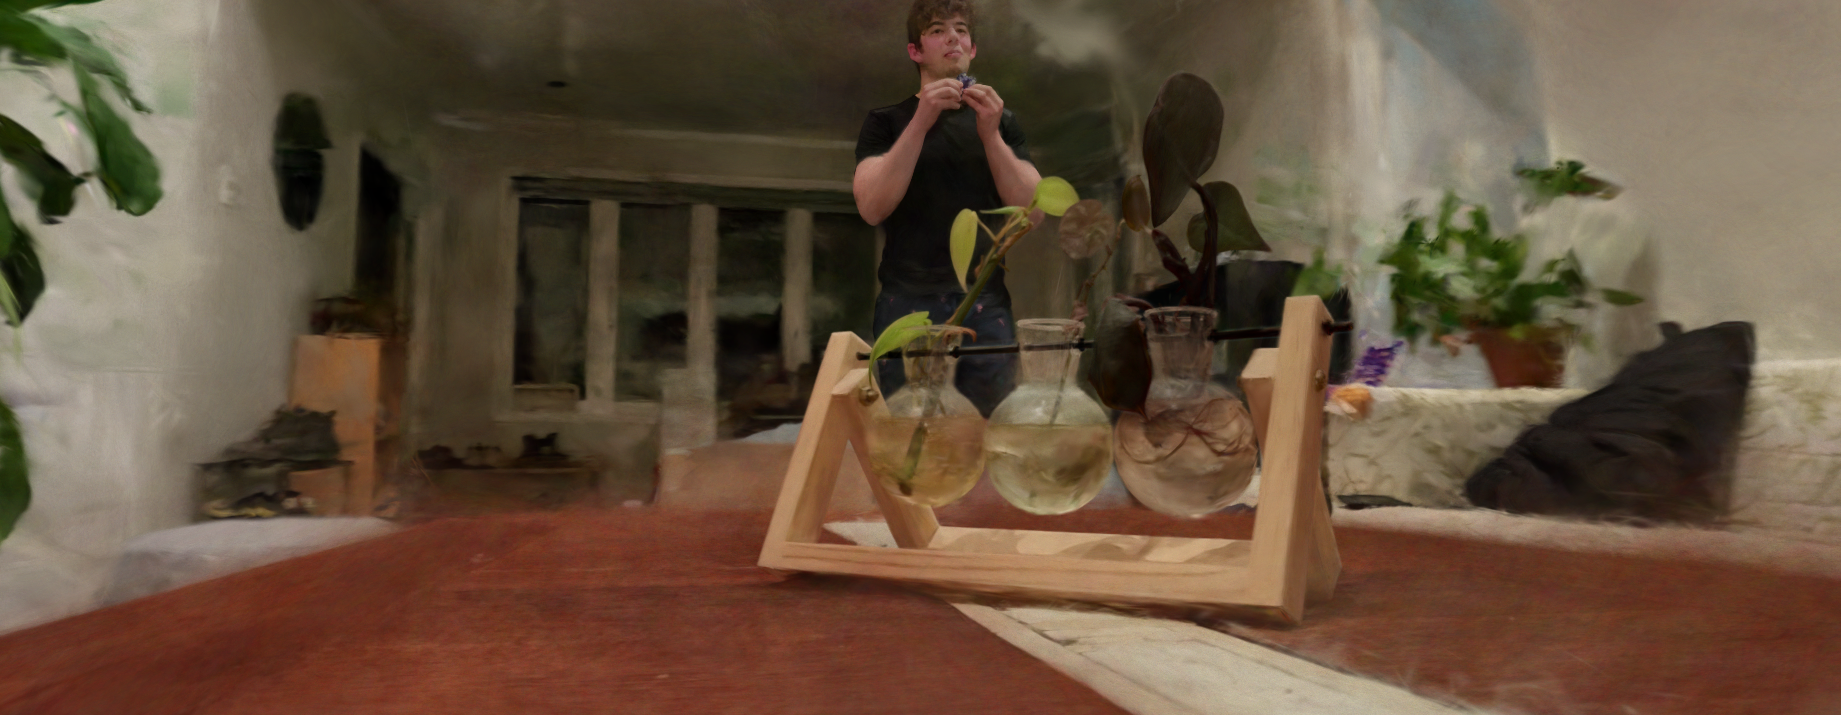
Some plants on our coffee table (ft. my flatmate)
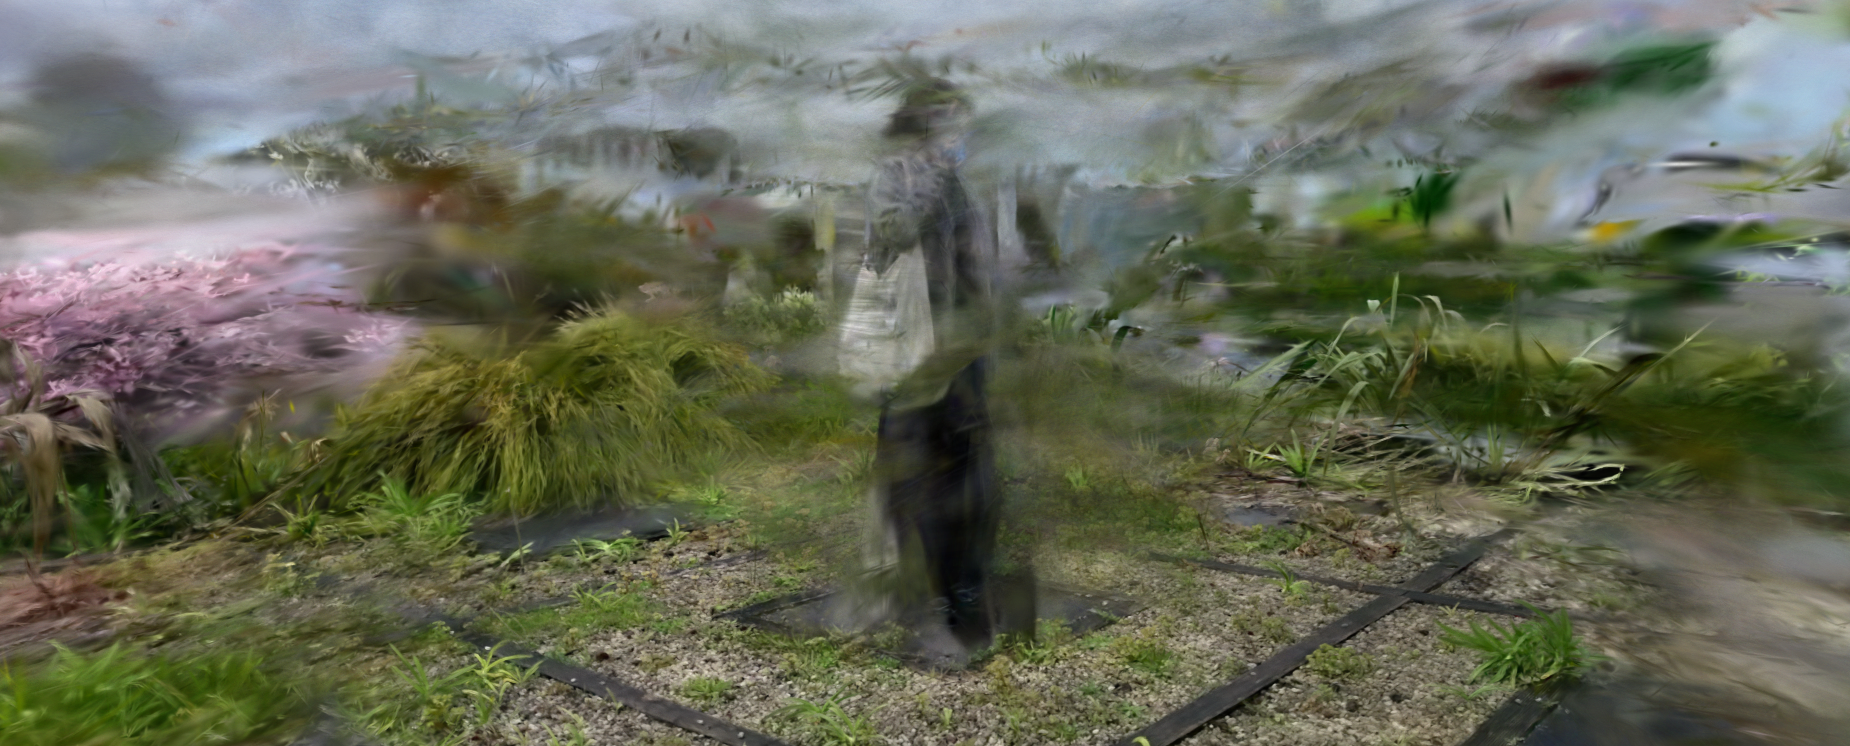
Olivia in our front yard
This one didn’t really work, but it’s still interesting
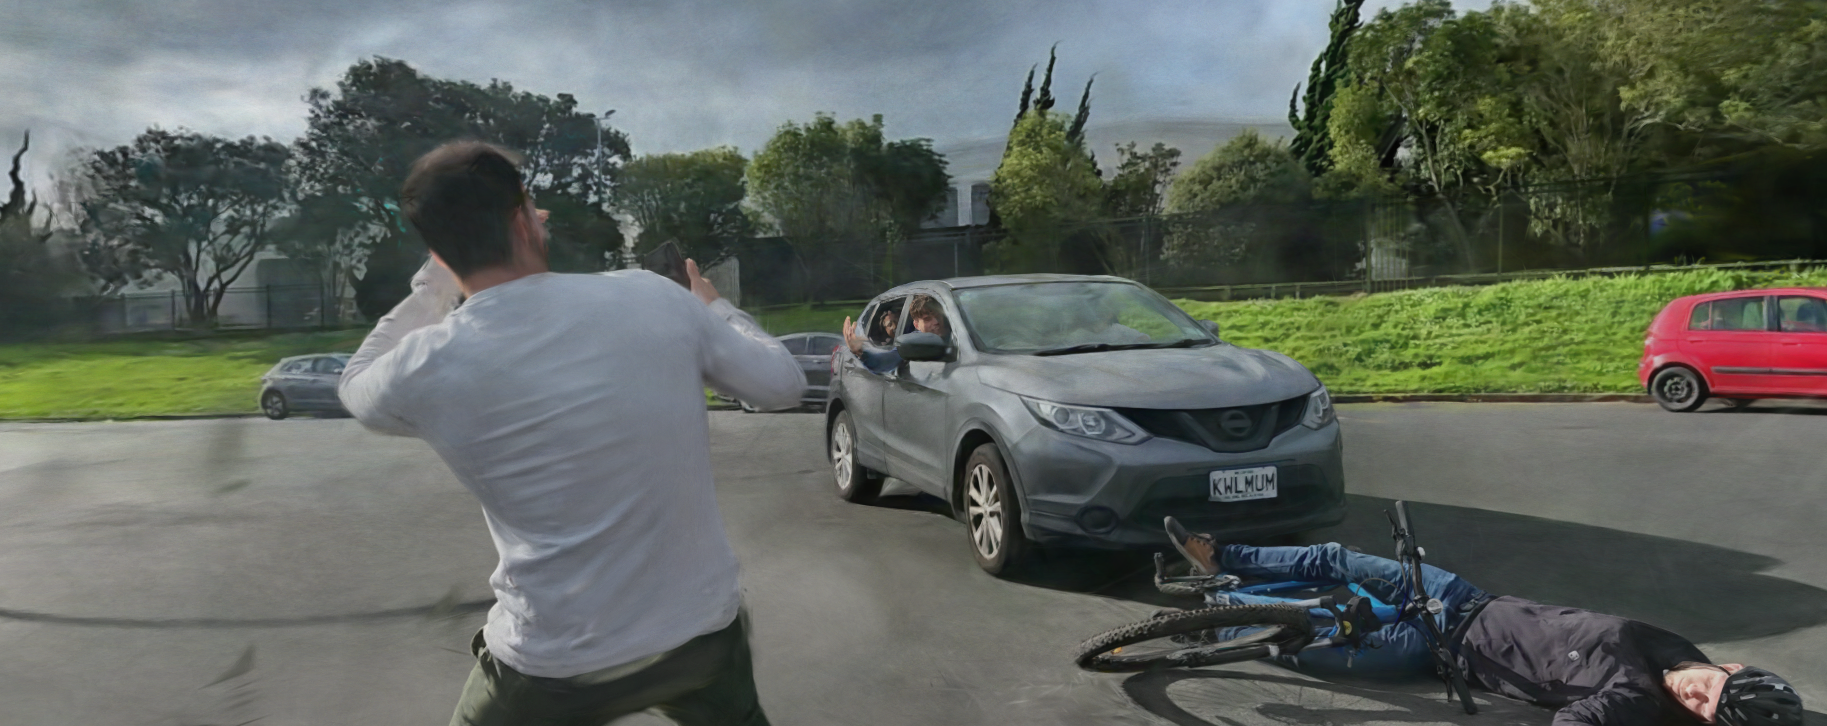
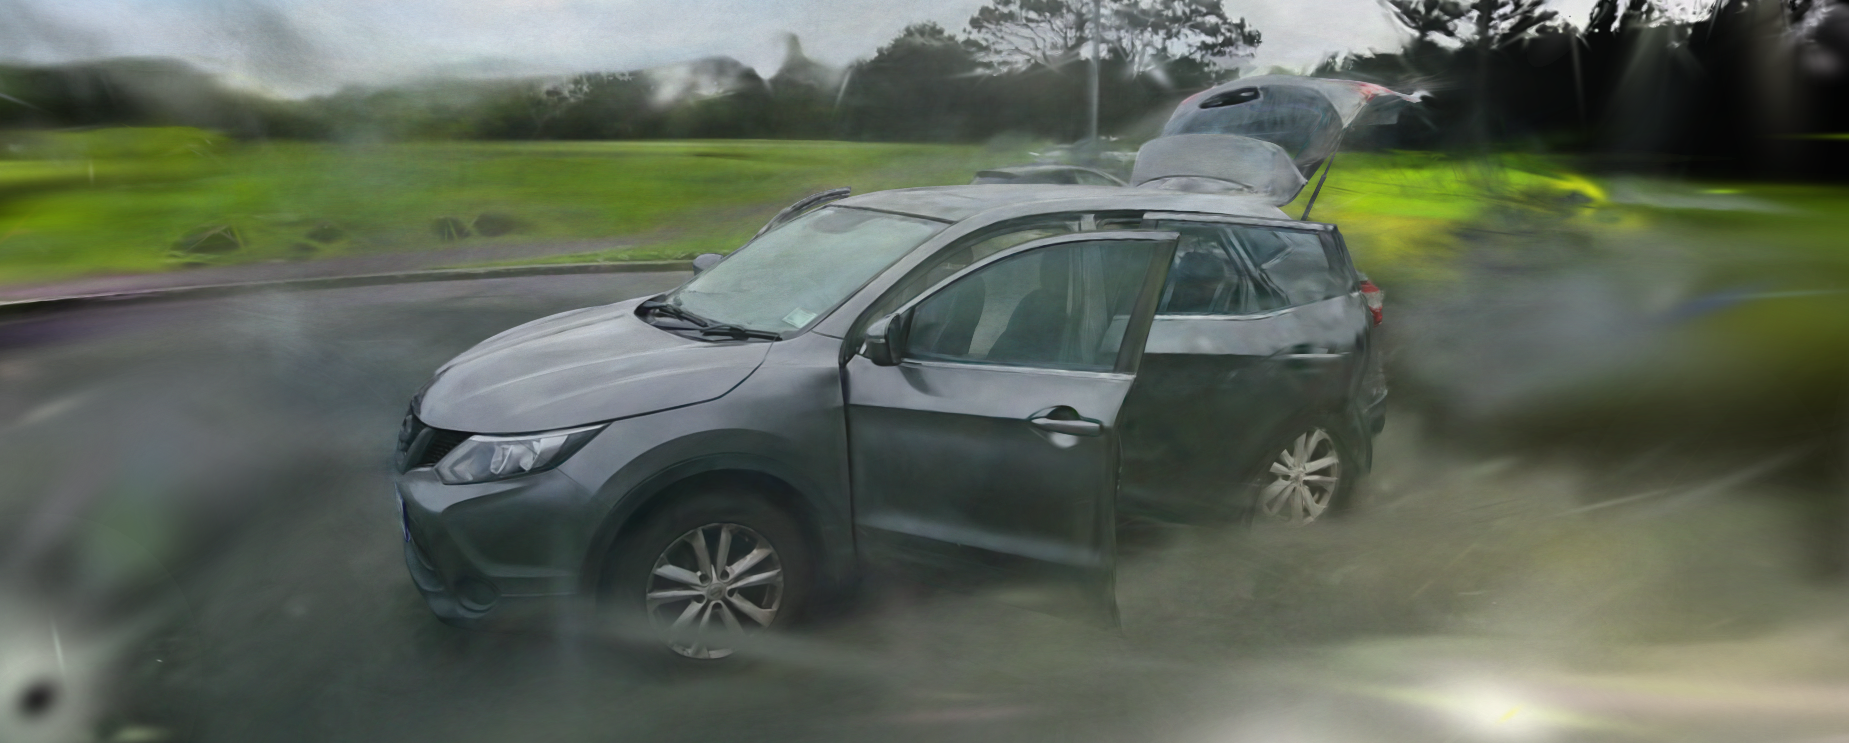
Will on a hit an run spree
Greissen’s car
This was originally to help her sell the car online, but the render probably wont persuade any buyer
Context
Gaussian Splatting is a new novel way of turning a point cloud into a beautifully rendered 3D scene. I’m definitely not an expert on this, but here is my understanding so far.
Gaussian Splatting is a form of Neural Radiance Fields (NeRF) however they have some core differences/novel aspects:
- They represent the volume in a scene with a collection of 3D gaussian distributions (a.k.a. splats) with colour and alpha values.
- They use neat tricks for rasterising the scene that allows for much faster rendering
- The properties of each gaussian (variance in each direction, colour, and alpha values) are trainable parameters, and are trained against the original videos
The faster rasterisation technique means that the outputs can be rendered at real time frame rates (and the training is super fast too!).
My process for creating splats
NOTE: I have since containerised the process and built it into a Dagster job. My code is WIP, but can be found here
A friend from work shared some youtube videos with me about what they are and how they make them (here and here) and I had to try it out for myself.
I was able to get some simple renders up and running in an afternoon (testament to the training speed and code quality of the researchers!). Here is an outline of my processh. Be warned - this is very scrappy and thrown together, I’ve spent most of my time playing around recording stuff
Setup
My hardware/software setup:
- OS: Ubuntu 22.04
- GPU: RTX4090
- RAM: 16gb
- CPU: Intel(R) Core(TM) i5-9600KF CPU @ 3.70GHz (time for an upgrade…)
- Camera: Samsung S22 Rear ultra wide camera (12MP)
You’ll need to clone Gaussian Splatting, and follow their install/setup requirements.
I had a bit of trouble installing the correct CUDA runtime, however sudo apt install cuda-11-6 was how I got it in the end (after following this most of the way).
I also needed conda and ffmpeg.
Record a Video
When recording a scene you want to splat, I generally get about 2mins of footage circling the objects of interest 2-3 times, trying to get the biggest range of perspectives possible. I try to get high/low/mid angle shots at close-ish range, and then also try and get a view from reasonably far away (2-3m).
This is a big area for experimentation. It’s very GIGO - so try out a few and see what works.
ffmpeg to Get the Frames
I then use ffmpeg to convert the videos into frames. I try and end up with about ~400 images because that seems to complete processing in a reasonable amount of time and doesn’t run into VRAM issues on my RTX4090 (I’m sure there are a bunch of optimisations that could be done to really squeeze out that VRAM).
The magical ffmpeg incantation is:
FILE_NAME=your_file_name
FPS=desired fps

ffmpeg -i $FILE_NAME -qscale:v 1 -qmin 1 -vf fps=$FPS %04d.jpg
For each video I do a little calculation to figure out what FPS to use to make sure I sit at about 400 images. Based of The NeRF Guru’s amazing video. A lot of great stuff in that video - but it’s all for Windows so I ended up skipping a lot of the setup stuff.
That script will create a bunch of jpg’s in the current directory - in order for the next steps to work you’re going to need the data in a folder like this:
~/path/to/data/dir/
    inputs/
        0001.jpg
        0002.jpg
        ...
    original_video.mp4
I use this little script to set that up for me:
DATA_DIR=data/SCENE_NAME
FILE_PATH=~/from/phone/video_name.mp4
FPS=6

FILE_NAME=$(basename $FILE_PATH)

# create the directory
mkdir -p $DATA_DIR
cp $FILE_PATH $DATA_DIR

(
    cd $DATA_DIR
    ffmpeg -i $FILE_NAME -qscale:v 1 -qmin 1 -vf fps=$FPS %04d.jpg
    mkdir input
    mv *.jpg input
)
Gaussian Splatting Scripts
The Gaussian Splatting repository contains two scripts:
convert.pytrain.py
With the project conda environment activated, from the repository root, I run this script:
python convert.py -s $DATA_DIR
python train.py -s $DATA_DIR
If I run out of VRAM, I will adjust these parameters for train.py:
- Increase these values:
--densify_grad_threshold, starts at0.0002--densification_interval, starts at100
- Decrease this value:
--densify_until_iter, starts at15_000
This has worked to varying degrees of success (YMMV).
View the result!
There will be an output/ directory in the gaussian splatting repository root with the outputs for your splat, the folder names are hashes so I just sort by modified to find the latest.
You want to find the point_cloud/iteration_30000/point_cloud.ply file (iteration_7000 is also often quite good).
Then I use this awesome project that uses WebGL to render gaussian splatting scenes in your browser to view the splats!
All you have to do is go to an instance of the renderer (they provide one here) and drag your point_cloud.ply file into the window.